One of my newest sensory bin obsessions has been turning our bins into mini bins! This first came about when my dear friend Rachael from Texas Speech Mom shared this hack as a traveling SLP. Considering we’re dealing with a small space ourselves as RVers, I knew this would be a perfect solution for using and storing our bins! Today I thought I’d share everything you need for preparing your sensory bins, both big and small!
*This post contains affiliate links. I will make a small commission if you choose to purchase products through my links.*
Prep Your Pieces
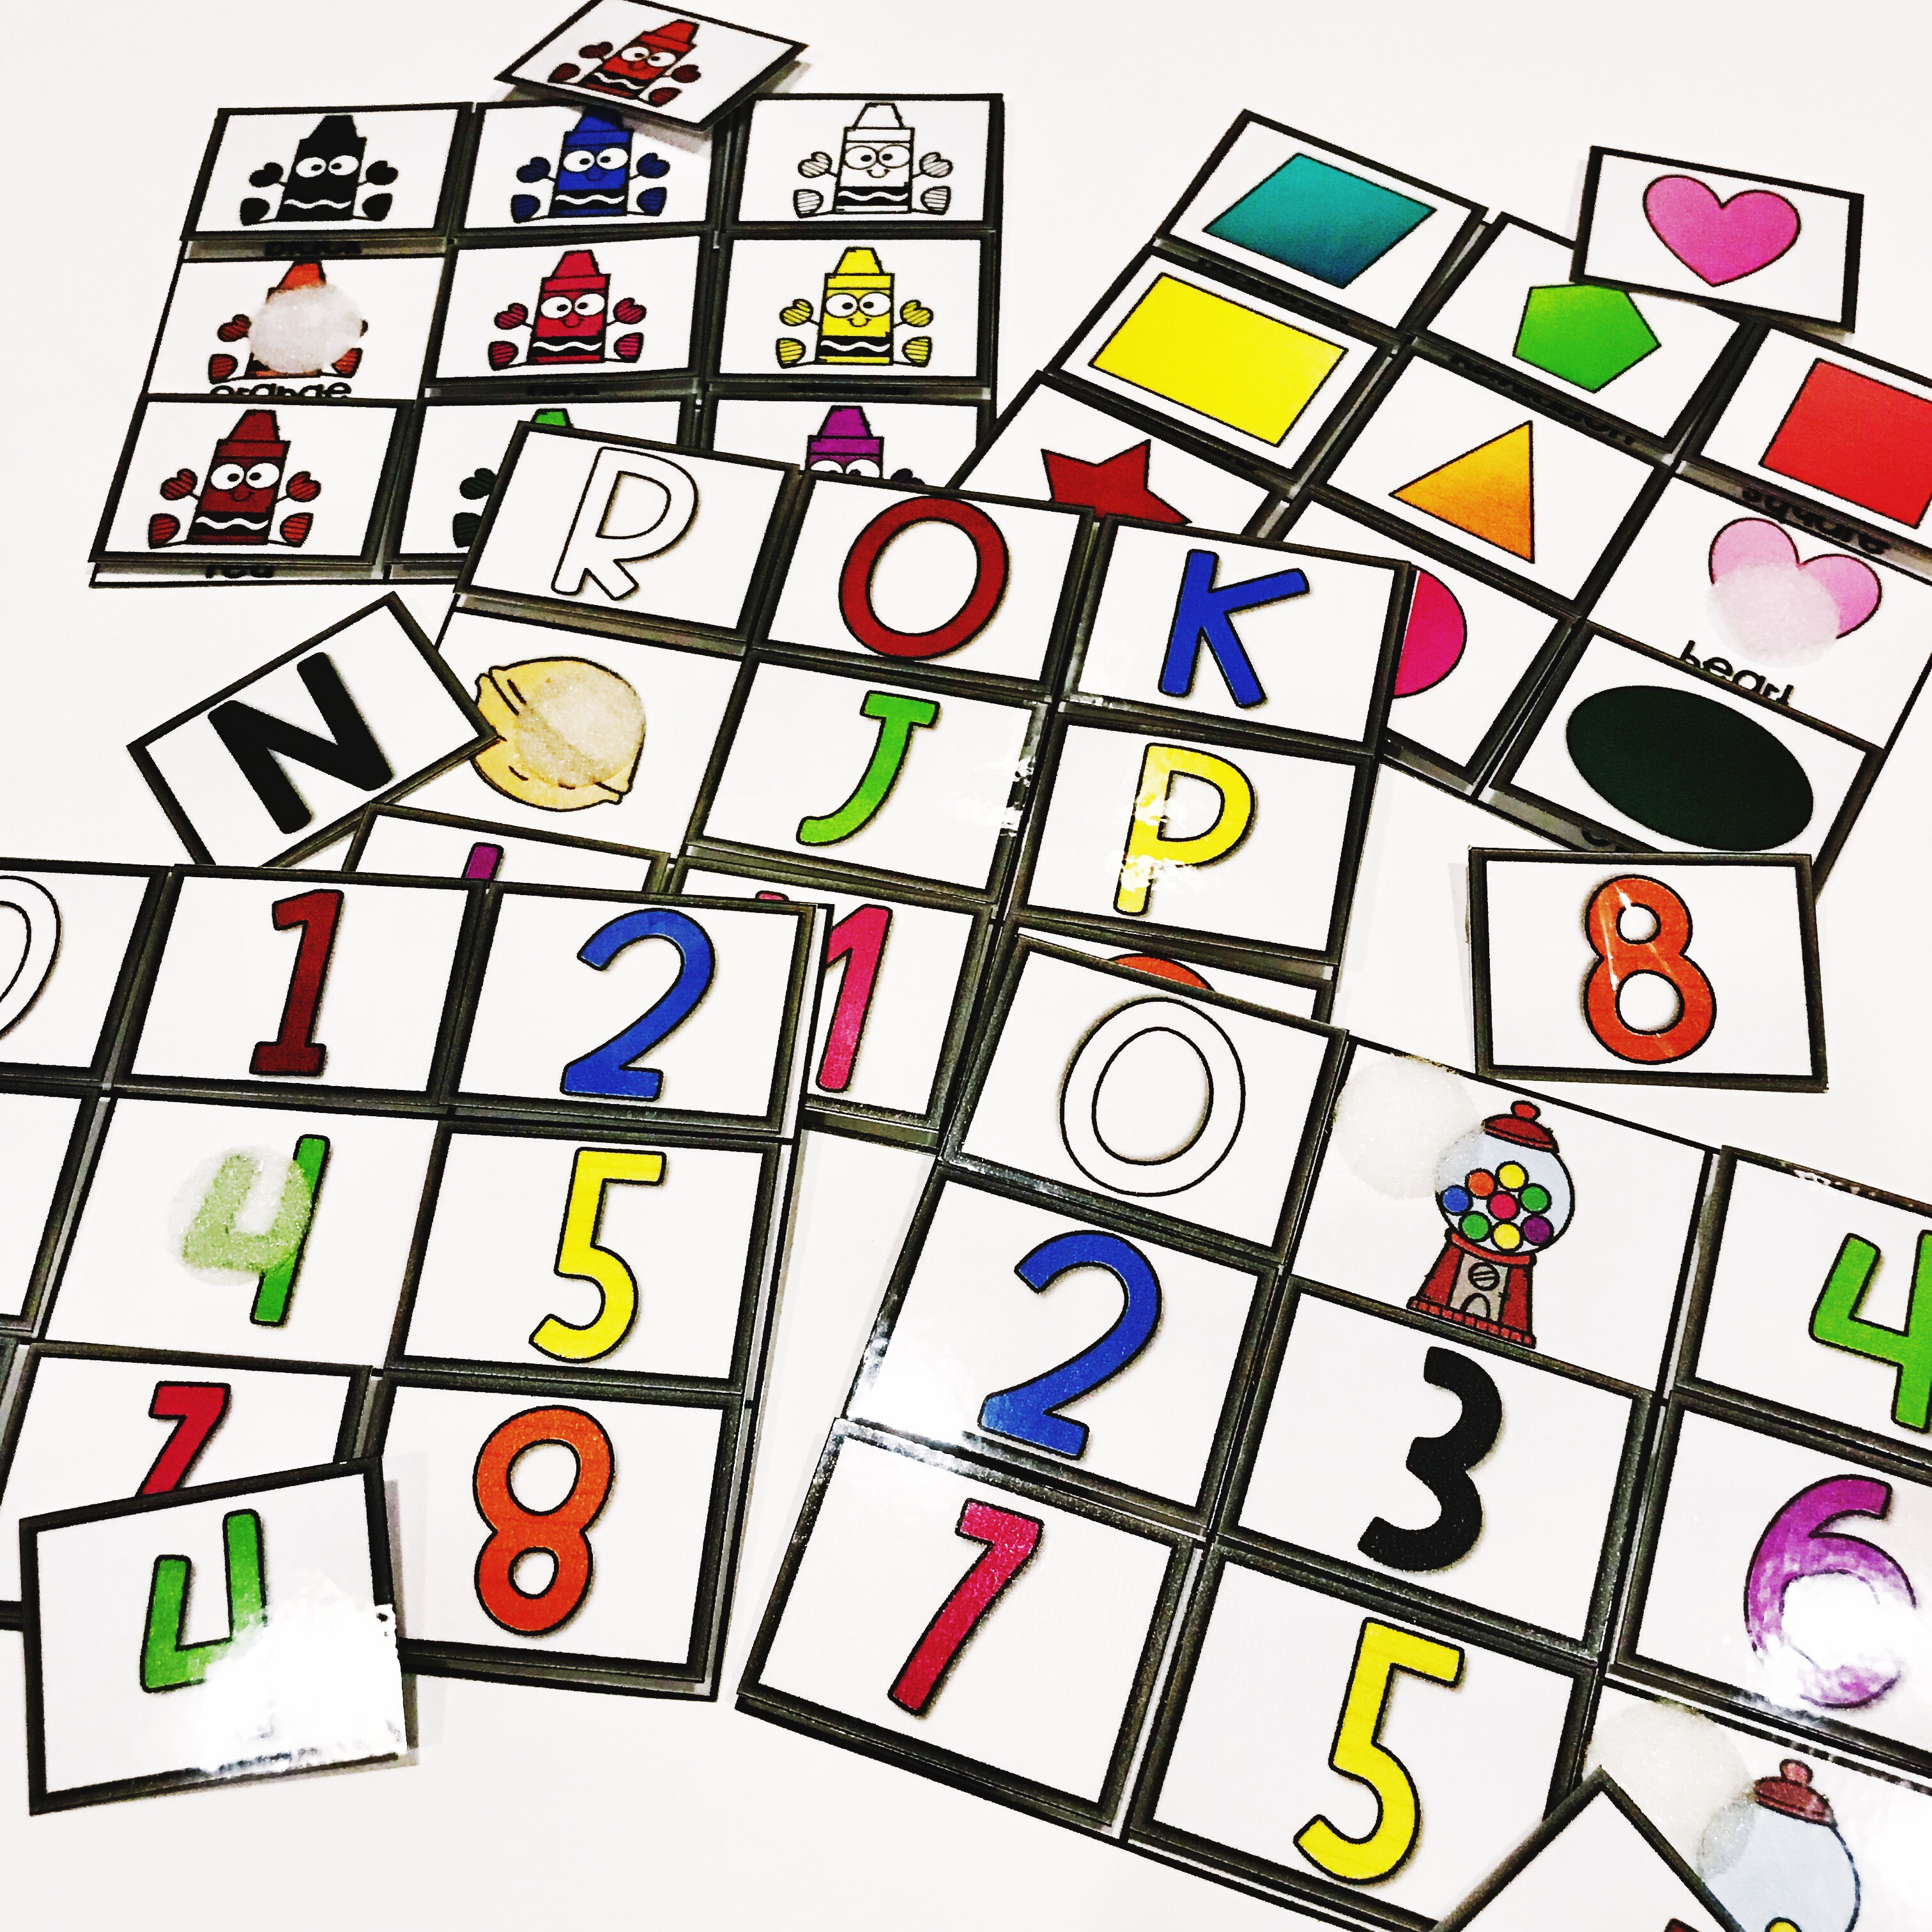
The first thing I do when prepping a sensory bin is decide what size I’d like it to be. Some bins have much smaller pieces than others, so I prefer to print them full-sized (or the size they’re created as). But most of the time, the pieces are perfect printed as mini bins. To make these “mini” versions, I simply print as 2 per page. They size is absolutely perfect!
Once I’ve decided what size I want my pieces to be, I print them out and laminate them. (You can find the laminator and lamination sheets that I use here!) I’m not going to lie – this part makes my teacher heart so very happy! Ha! After laminating, I cut them out and add Velcro (see here). While the Velcro is not a necessary step, I choose to use it to keep everything more organized for storage. (Also, LG LOVES playing with the Velcro so it makes us both happy!)
Choose Your Bin
The next thing I do is choose the bin I’d like to use. When dealing with larger pieces, I choose a storage bin similar to this one that includes a lid. Having a lid makes cleaning up and storing much less stressful, especially if I just need to scoot it out of the way for a little bit.
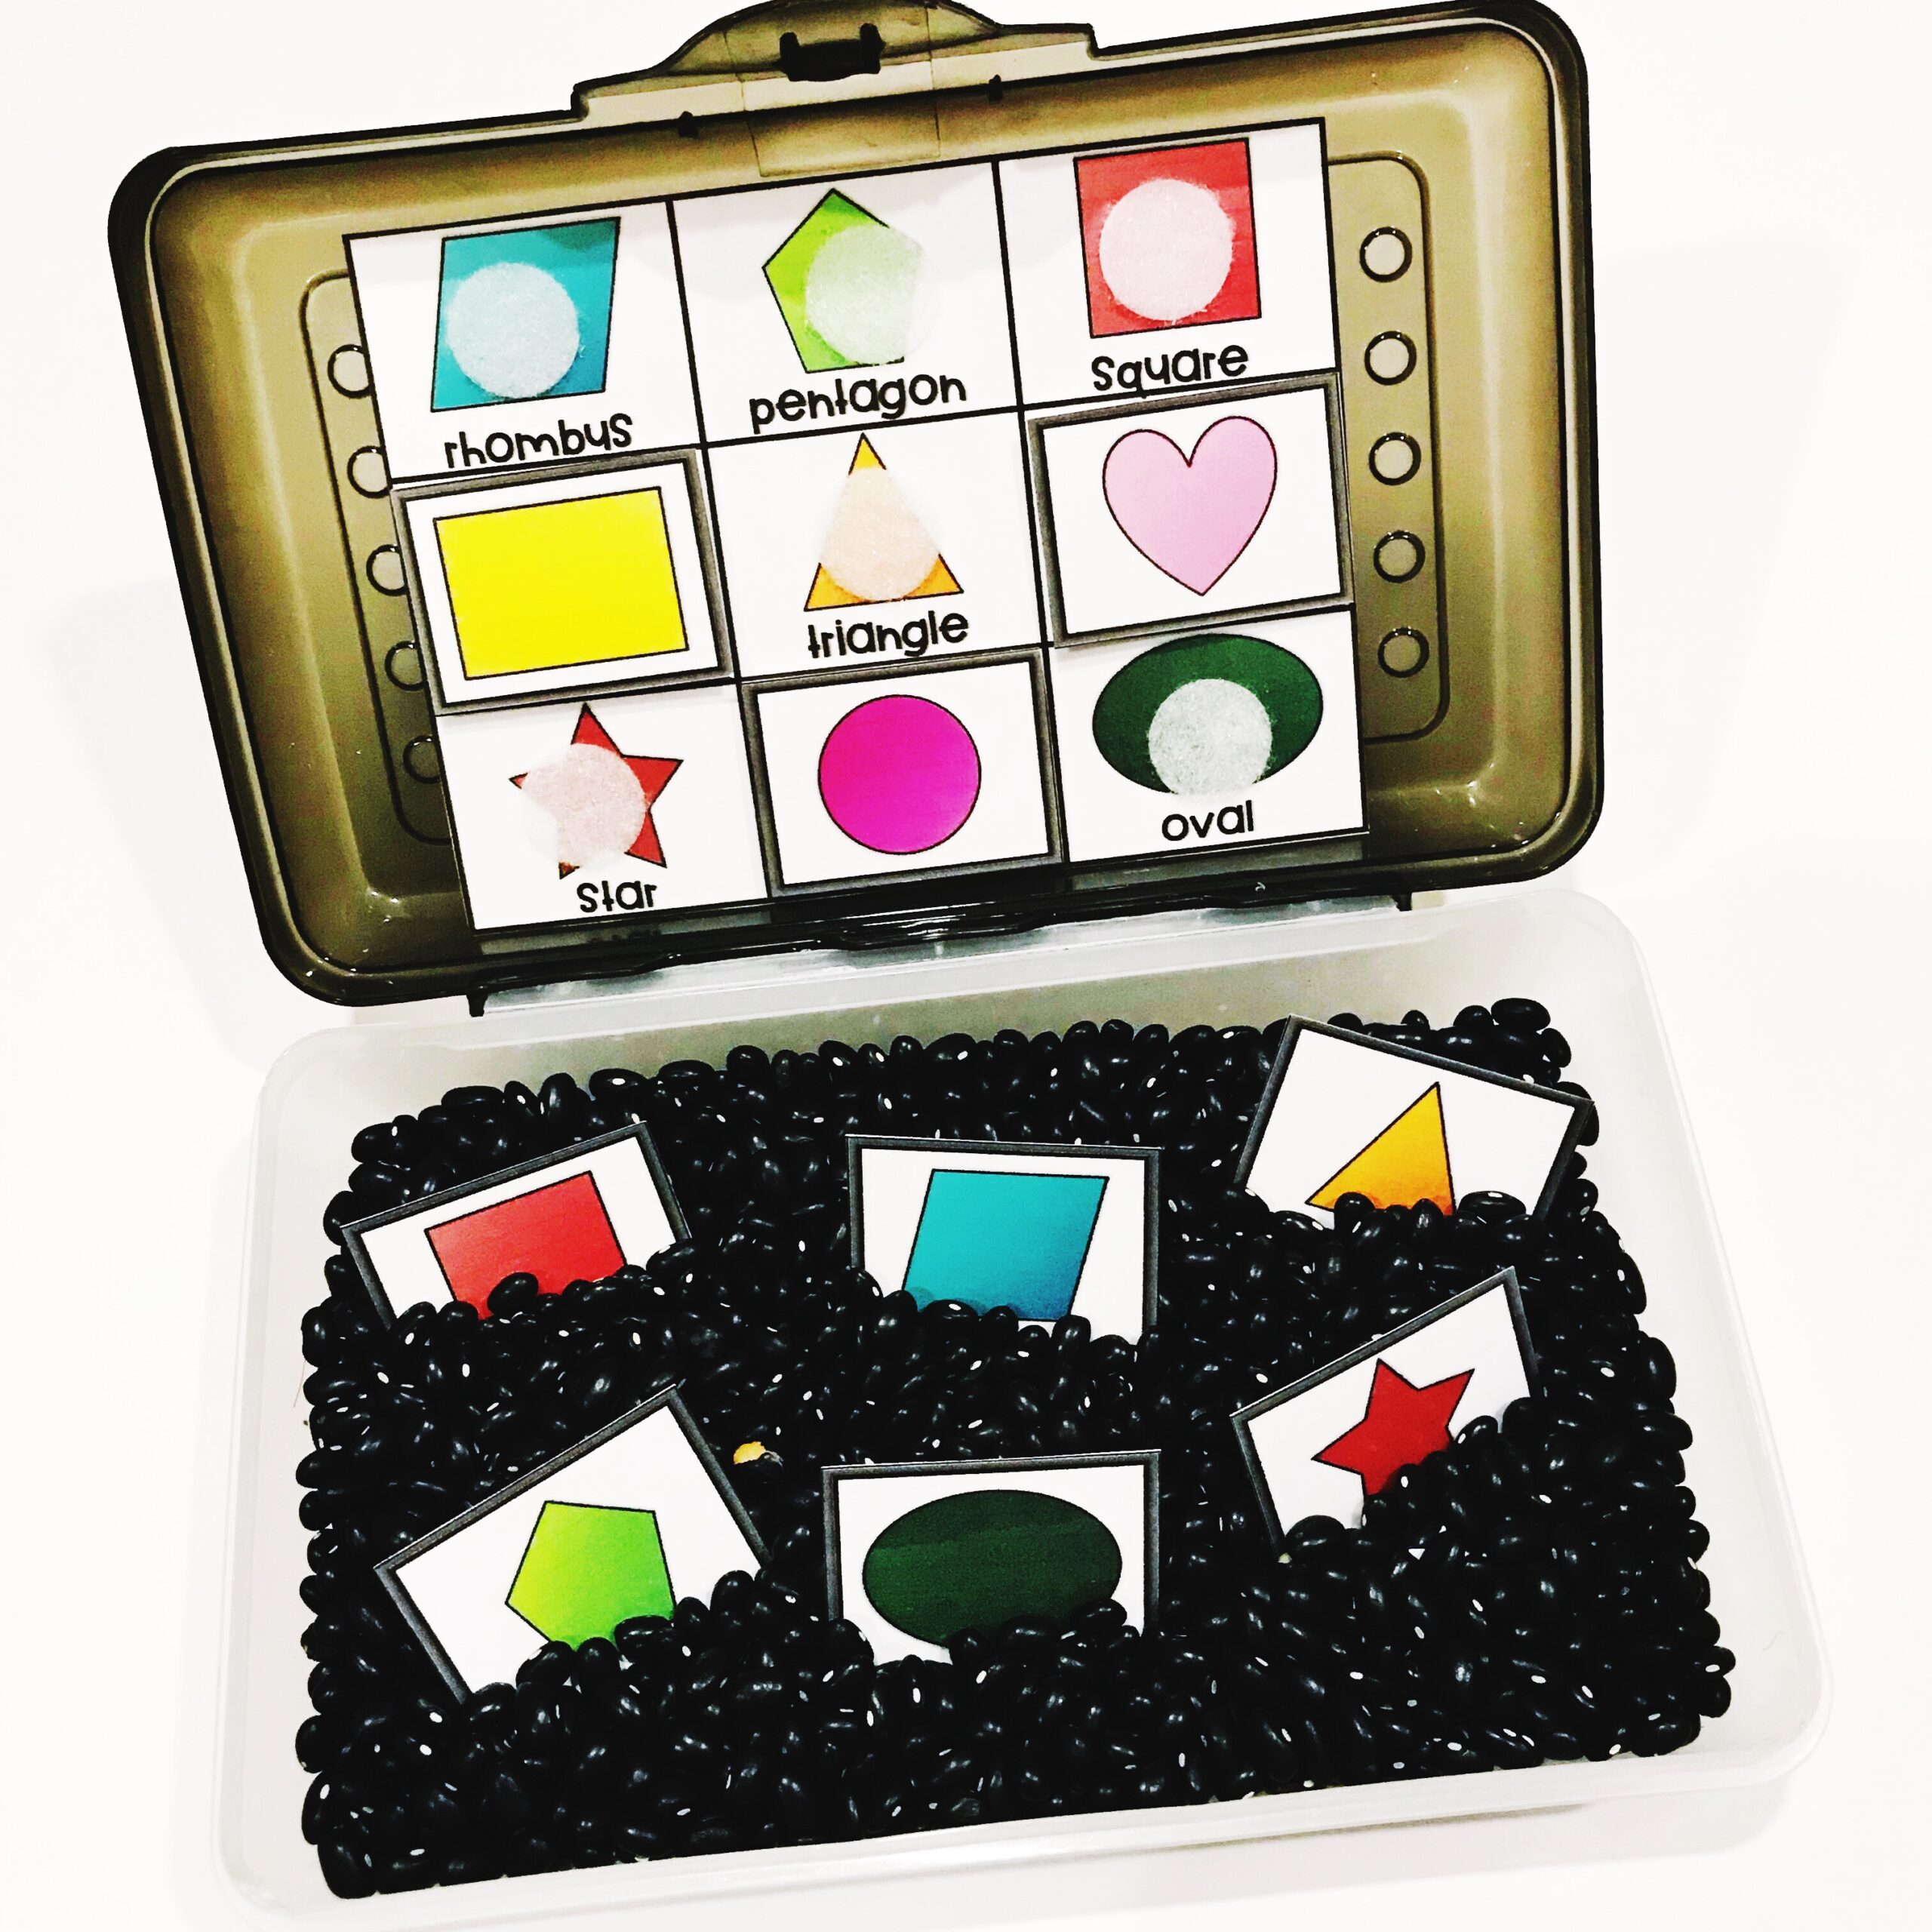
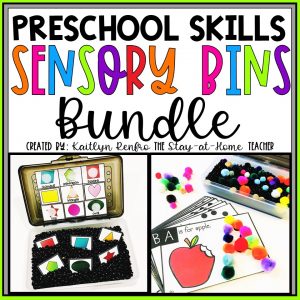
For our mini bins, I use these pencil boxes. They’re inexpensive and have enough room to fit the filler and/or sensory bin cards. They are also super easy to store, and I’m able to have more of them prepared in advance without taking up too much space.
Choose Your Filler
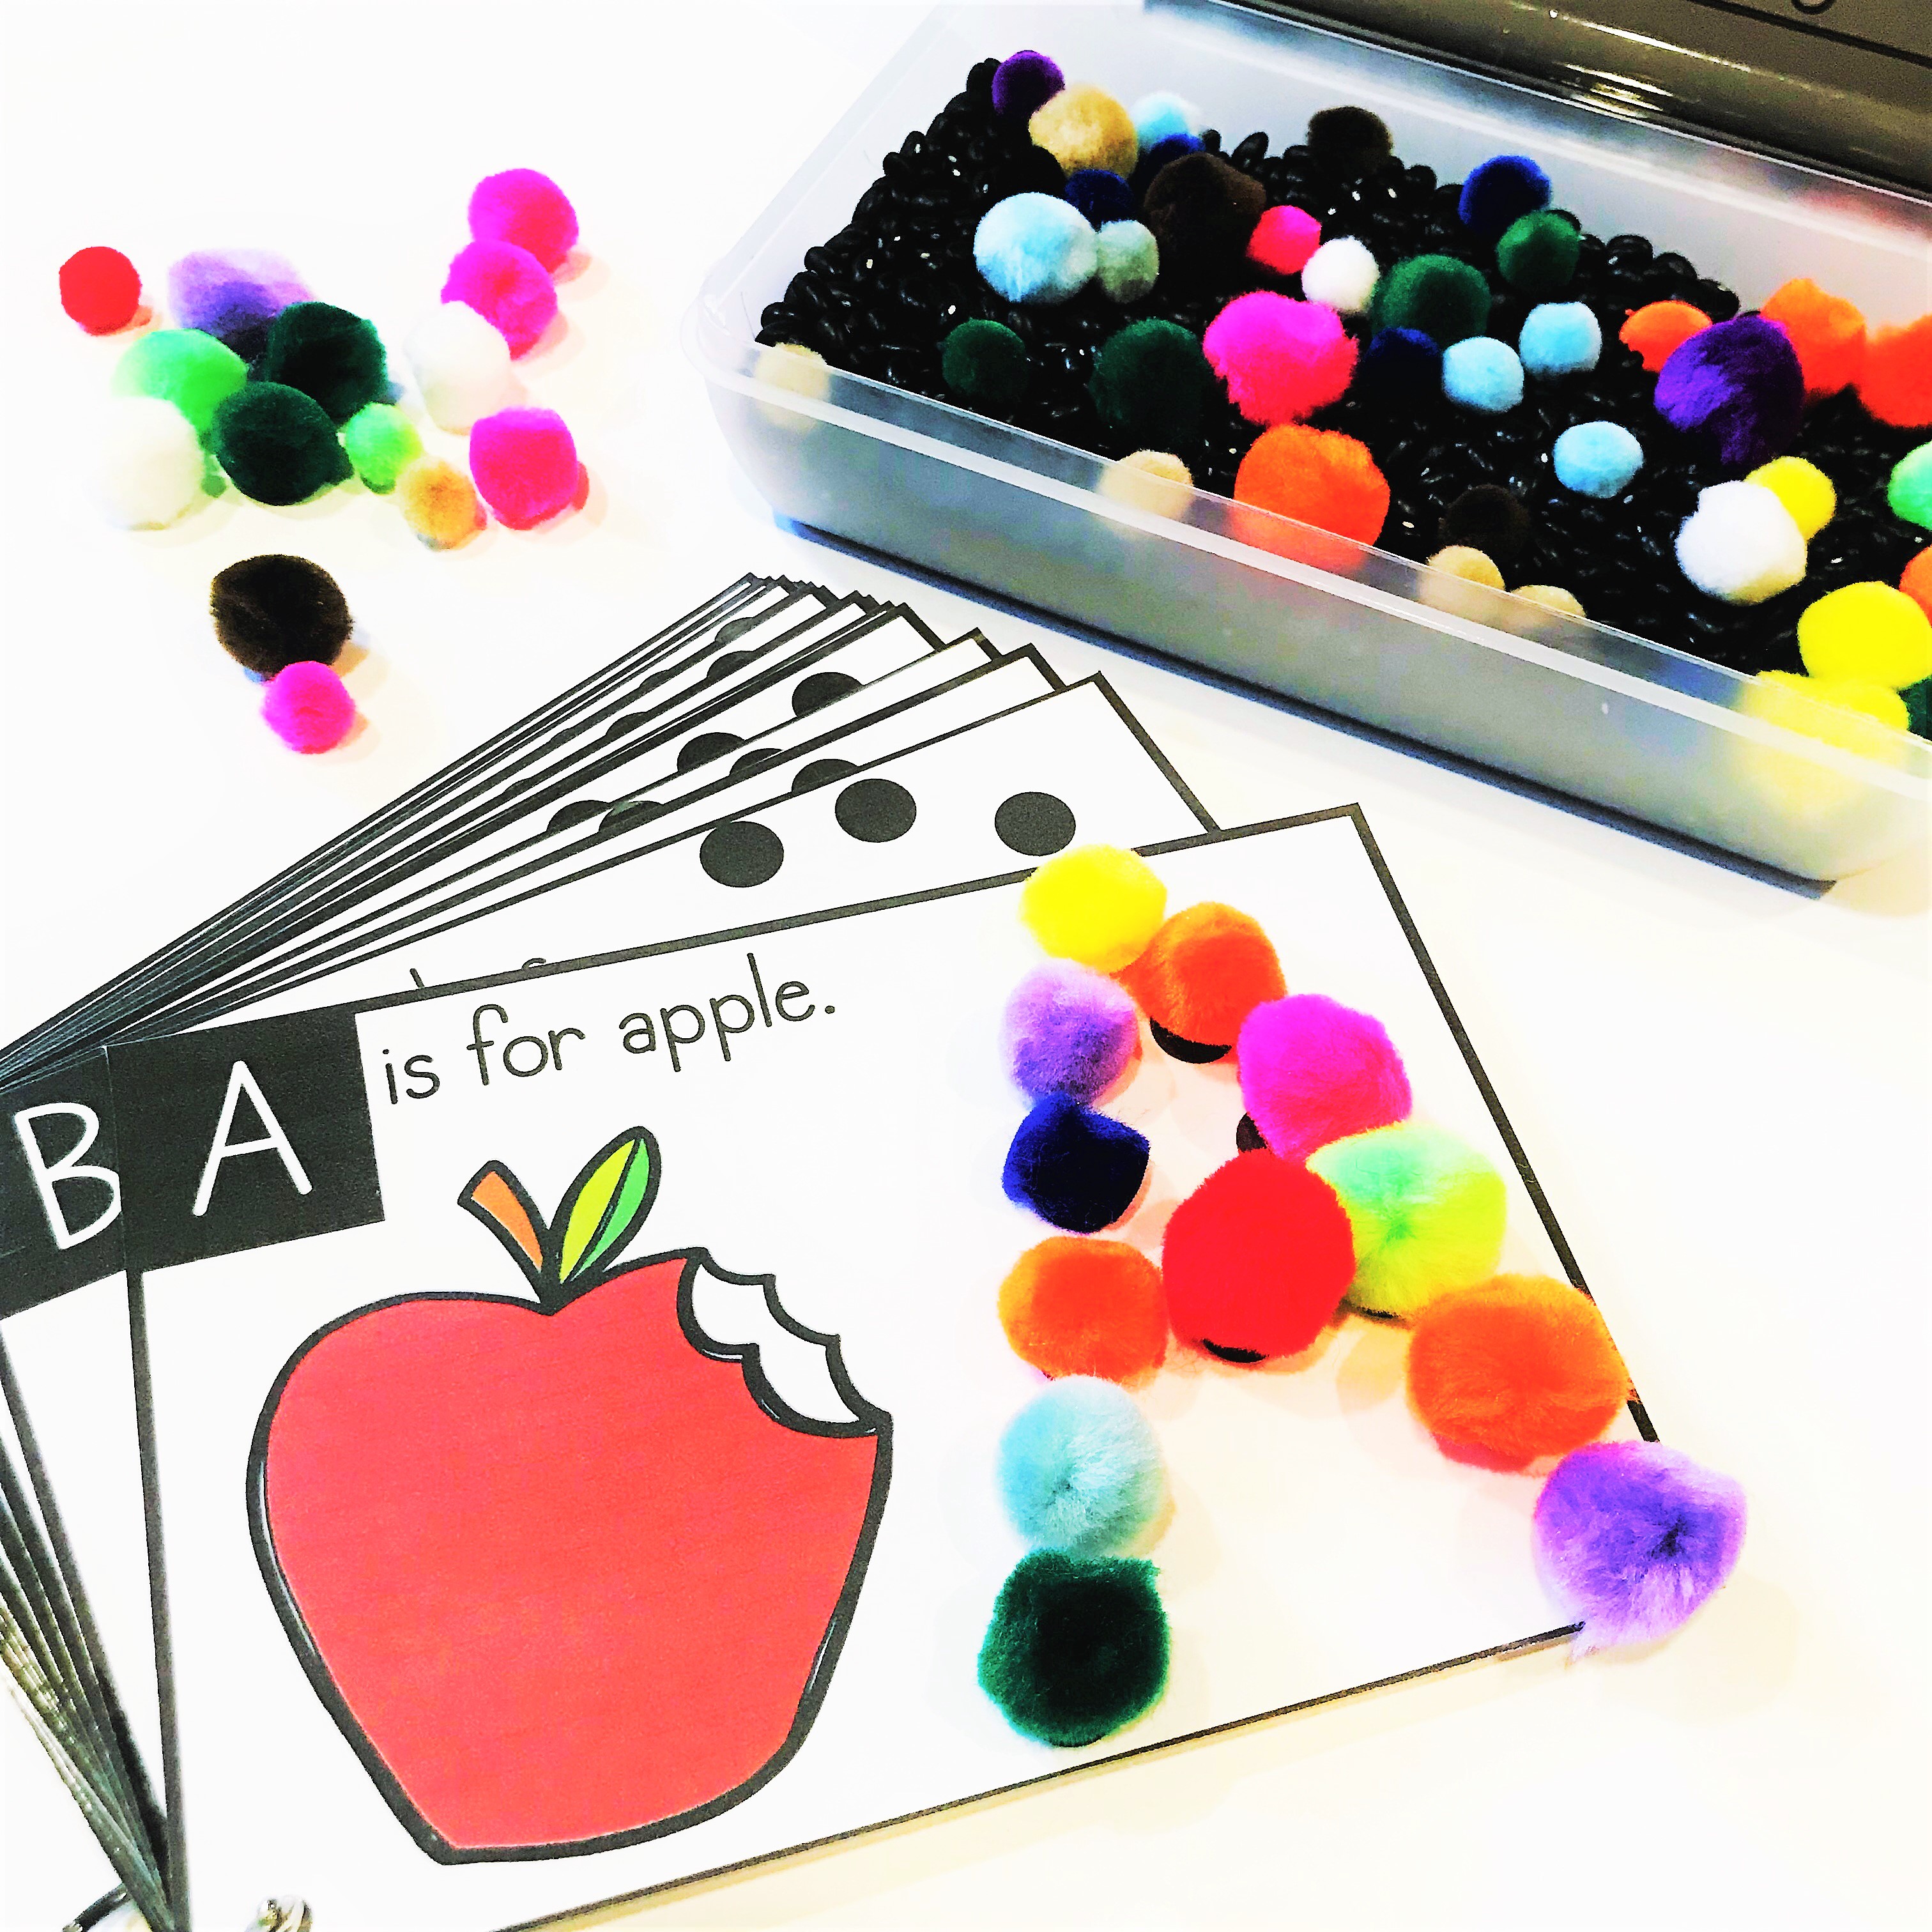
The last thing I choose is our sensory bin filler! If you’ve followed me on Instagram for very long, you know we love our shiny black beans! While I like to switch it up sometimes and use things like dry oatmeal or cotton balls, I find that the black beans help any manipulative or sensory bin card stand out!
And that’s it! These are 3 simple steps, but when put together sensory bins allow so many opportunities for little ones to explore and practice academic skills in combination with fine motors practice!
Make the Most of Your Bins
Now that you’ve got everything you need for preparing your sensory bins, hop on over to my post about making the most of your bins by clicking HERE!
If you’re looking for ways to add an academic element to your sensory bins, check out the sets I have listed in my TpT store by clicking the images below!
One thought on “Preparing Sensory Bins”